After constant pestering from 'someone' on how to stitch photos together, I decided to do a step-by-step tutorial. Whilst most phones are able to do Panoramic shots now, this tutorial would help stitch separate photographs together and/or even multiple screenshots from the Internet (Google Maps Street Views).

Sort the images into a sequential order. Left to Right or Bottom to Top. By renaming the files.

Launch Mini Bridge by clicking on the 'Mini Bridge' tab at the Bottom-Left corner.

Locate the folder where the Images are stored. Select the images to be merged/stitched. Right click selection and selected 'Photoshop - Photomerge...'.

Select images layout; if you're unsure, select 'Auto'. Click 'OK'. After a few minutes (depending on number and size of images), Photoshop will stitch the images into separate layers.

When its done, you can export/save the image - BEWARE, file size and resolution will be massive. And if you wish to continue from the existing PSD, merge the images first - I recommend merging visible layers into a separate layer (Ctrl+Shift+Alt+E) just for contingency.
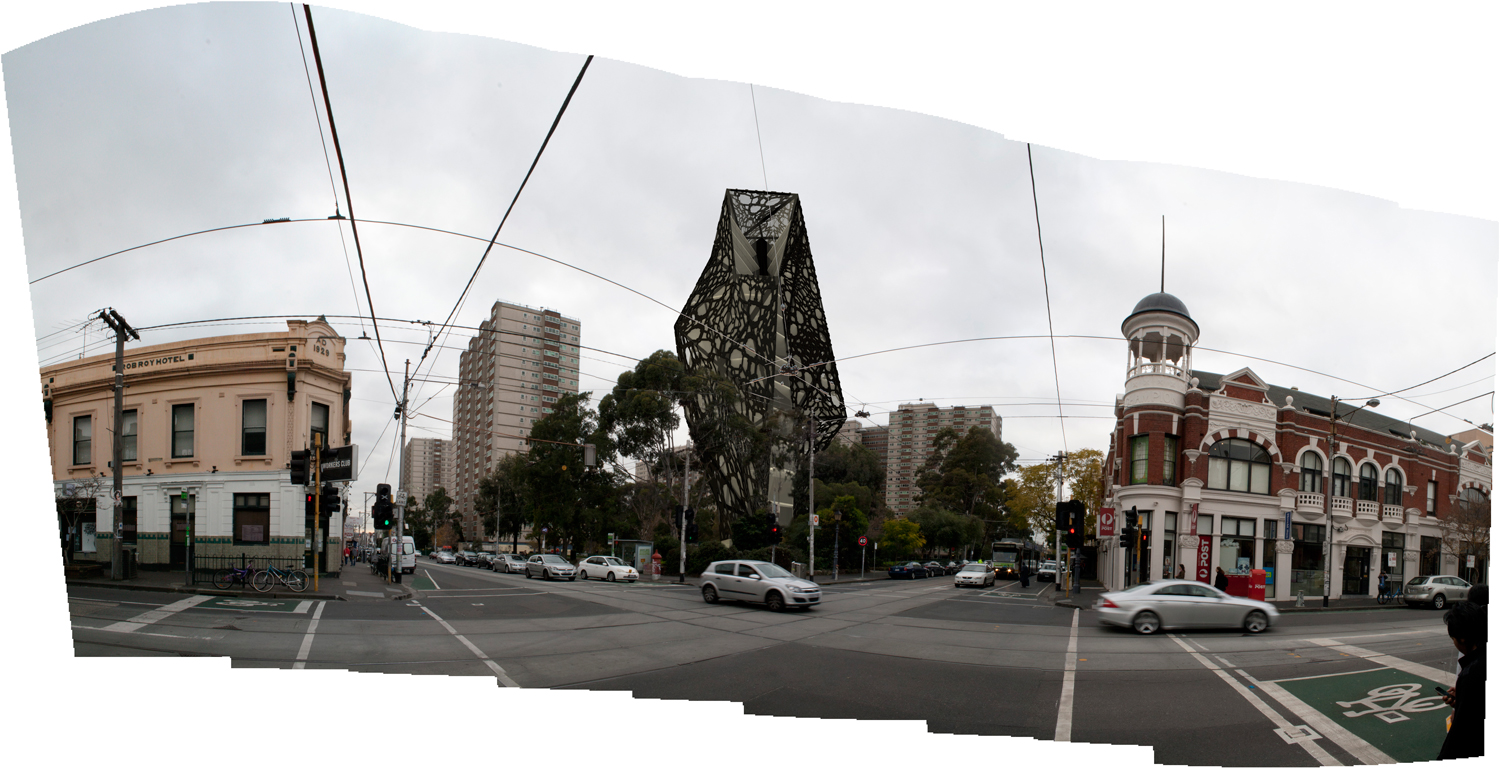
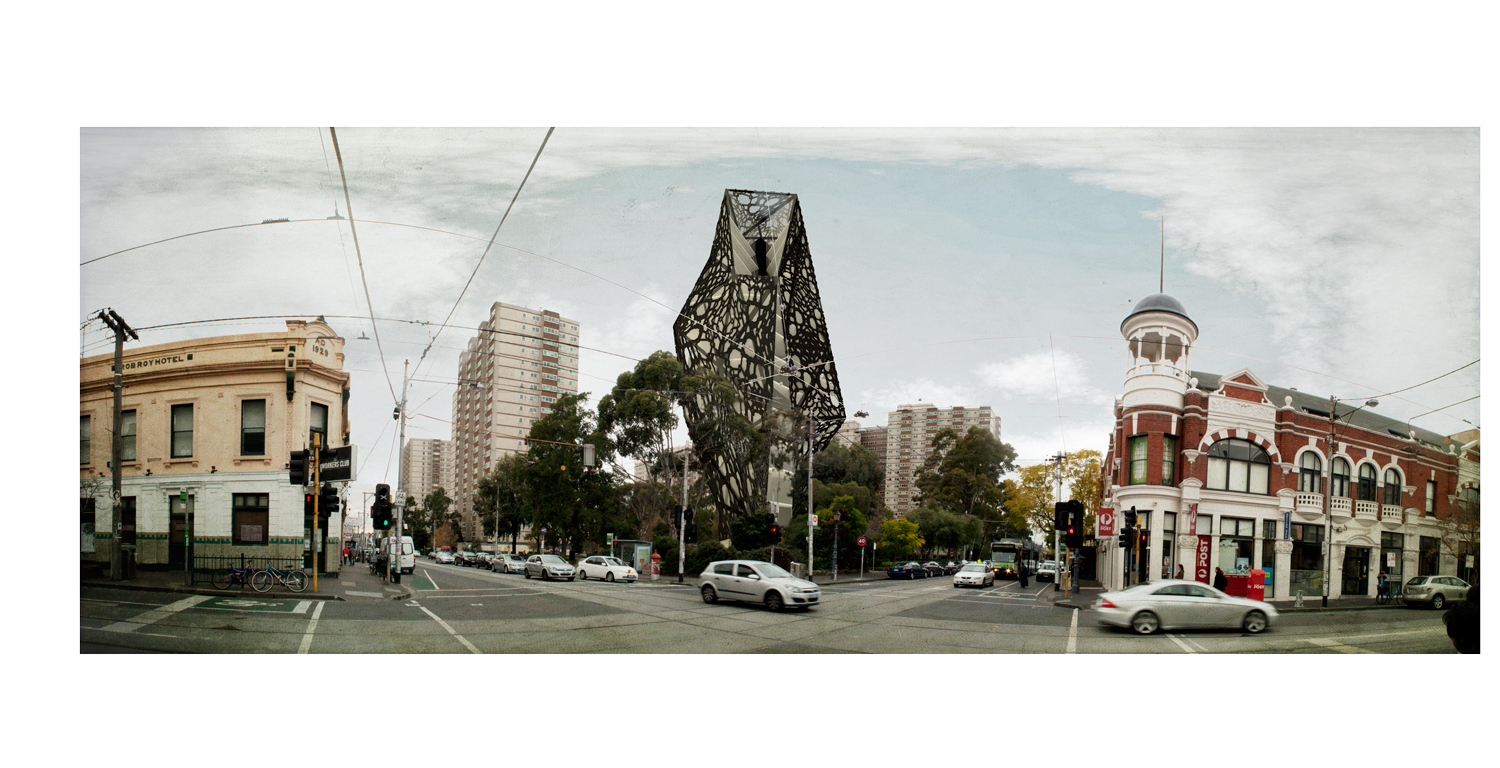
Lastly, place your building into the stitched photo, crop your desired view, and "post-production!" - possible future tutorial. Images above were used for the project 'Vestiary Exposed'.